There were 8,667 ADA Title III lawsuits filed in or removed to federal district courts in 2025, according to Seyfarth Shaw’s annual count — down 2% from 2024, and concentrated in California (3,252), Florida (1,823), and New York (1,471). Website accessibility cases made up 3,117 of that total, or 36%. The remaining roughly two-thirds are physical-access claims, and parking is where a disproportionate share of them start.
The reason is procedural rather than philosophical. Parking is the only barrier class a prospective plaintiff can fully document without entering the building, without interacting with staff, and without expert interpretation. A tape measure, a level, and a phone camera produce evidence that is numeric, photographic, and hard to dispute. Signage and striping violations in particular are cheap for the facility to fix and easy for a plaintiff to prove — which is exactly the combination that generates demand letters.
The good news is symmetrical: the same measurability means you can audit your own lot in an afternoon and know where you stand.
The requirements, as numbers
From the Department of Justice’s guidance on accessible parking:
Count by lot size. 1–25 total spaces: 1 accessible. 26–50: 2. 51–75: 3. 76–100: 4. 101–150: 5. 151–200: 6. 201–300: 7. 301–400: 8. 401–500: 9. 501–1,000: 2% of total. 1,001 and above: 20, plus 1 for each 100, or fraction thereof, over 1,000.
Van accessible. “At least one of every six spaces must be van accessible.”
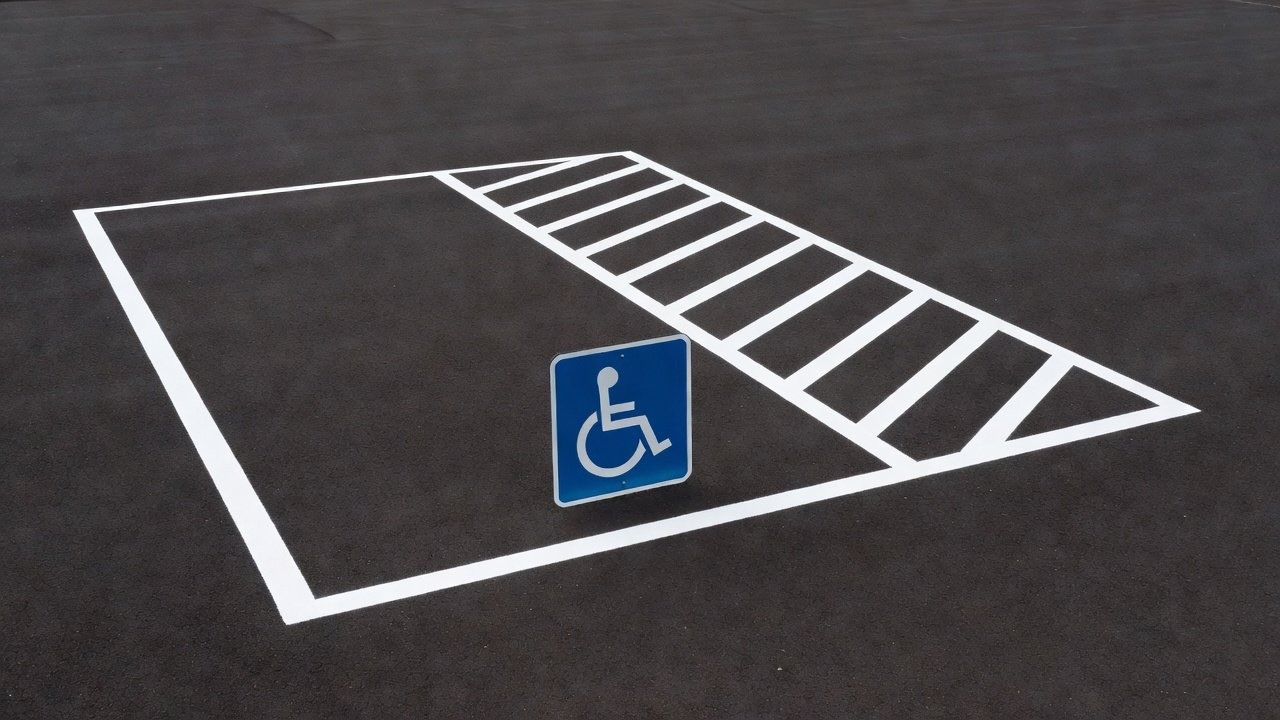
Dimensions. A car-accessible space must “be at least 96 inches wide” with “an access aisle at least 60 inches wide.” A van-accessible space must either be at least 132 inches wide with a 60-inch aisle, or 96 inches wide with a 96-inch aisle.
Slope. No more than a 1:48 (2.08%) slope, in all directions — the space and the access aisle both.
Surface. “Firm, stable, and slip-resistant.”
Signage. Mounted at least 60 inches above the ground, measured to the bottom of the sign. Car spaces require the International Symbol of Accessibility; van spaces require the symbol plus signage stating the space is van accessible.
State and local accessibility codes can be stricter than the federal baseline — California’s requirements are the most commonly cited example — so verify against your jurisdiction before treating the federal numbers as the ceiling.
The five failures that actually get cited
1. Striping worn past legibility. Access aisle hatching fades faster than stall lines because it sits where vehicles maneuver. An aisle that is theoretically 60 inches wide but visually indistinguishable from open pavement gets used as a driving lane and photographs badly.
2. Signs missing, low, or obscured. Post-mounted signs get struck by vehicles and reinstalled at whatever height the crew found convenient. Anything under 60 inches to the bottom of the sign is a violation, as is a sign hidden behind vegetation, a snow pile, or a parked vehicle. A pavement symbol alone does not satisfy the sign requirement — it is invisible when the space is occupied, which is precisely when a driver needs to know.
3. Van ratio lost in a re-stripe. This is the most common self-inflicted failure. A contractor re-stripes a lot, adds stalls to maximize count, and the accessible total or the one-in-six van ratio quietly falls out of compliance. Nobody checks, because the lot looks better than it did.
4. Slope drift. Settlement, overlay paving, and patching all change cross slope, and 2.08% is a tighter tolerance than most paving crews work to by habit. This is the violation facility managers most often do not know they have, because it is invisible without an instrument.
5. The access aisle used as storage. Cart corrals, bike racks, planters, temporary signage, and snow piles placed in an access aisle eliminate the feature entirely. The aisle is not spare pavement; it is the reason the space is usable.
Run the audit yourself
You need a 100-foot tape, a 24-inch digital or smart level, a camera with timestamps, and your site plan.
- Count total stalls in each lot, then determine the required accessible count from the table above. Do this per lot or per building entrance served, not sitewide, and check the van ratio separately.
- Measure each accessible space and its aisle at both ends and the middle. Record actual inches, not “looks fine.” Note which spaces are designated van accessible and confirm the width combination is one of the two permitted options.
- Take slope readings at a minimum of four points in each space and four in each aisle, in both directions. Record the percentage. Anything above 2.08% goes on the capital list.
- Measure sign height from the ground to the bottom of the sign, and photograph each sign face to confirm the symbol and, for van spaces, the van-accessible wording.
- Walk the accessible route from each space to the building entrance. Confirm a curb ramp or level connection, adequate width, no steps, and no obstructions.
- Photograph everything, dated, with the space number visible.
- Log it in a spreadsheet by space number, with measured values, pass/fail, and remediation status.
That log is as valuable as the fixes. A facility that can produce a dated audit and a remediation schedule is in a materially better negotiating position than one whose first measurement happens after a complaint arrives. Our broader ADA compliance checklist for parking facilities covers the elements beyond the stall itself.
Put ADA verification in the paving contract
Every re-stripe, seal coat, overlay, or repair project is the moment compliance is either established or lost. Handle it contractually rather than by supervision:
- Require the striping layout to be submitted and approved against the count and ratio table before work starts.
- Require as-built slope readings on all accessible spaces and aisles as a deliverable.
- Hold final payment pending your own verification measurement.
- Specify sign reinstallation heights explicitly, with the 60-inch dimension in the scope.
That language costs nothing and moves the risk to the party doing the work.
Sequence the fixes by cost
Signs and striping are low-cost, fast, and where the litigation pressure concentrates — do them this quarter regardless of what else the audit finds. Obstruction removal is free and immediate. Slope correction and curb-ramp construction are capital items requiring design; get them measured now so they can be scoped and funded in the next cycle rather than discovered under a deadline.
The uncomfortable reality of accessible-parking litigation is that the violations are almost always known-fixable and almost never fixed, because nobody owns the measurement. Assign it, run it annually and after every pavement project, and keep the log. A tape measure and a level are the cheapest compliance program available to a parking asset.